Do you have a place to monitor but are facing challenges with power or internet?
Or is the WiFi sometimes unstable, causing you concern?
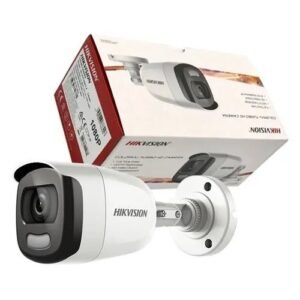
Our 4G solar security cameras are the perfect solution for you. These cameras are ideal for farms, construction sites, boats, barns, second homes, and more. They’re popular for places without power or internet.
Here are the top 5 things you should know before starting your 4G solar security camera project.
What is a 4G Solar Security Camera?
How to Set Up 4g Solar Camera for Live View
Top 5 Benefits of 4G Solar IP Cameras
Cost of a 4G Solar Security Camera
Best Budget Picks of solar camera in 2024
What is a 4G Solar Security Camera?
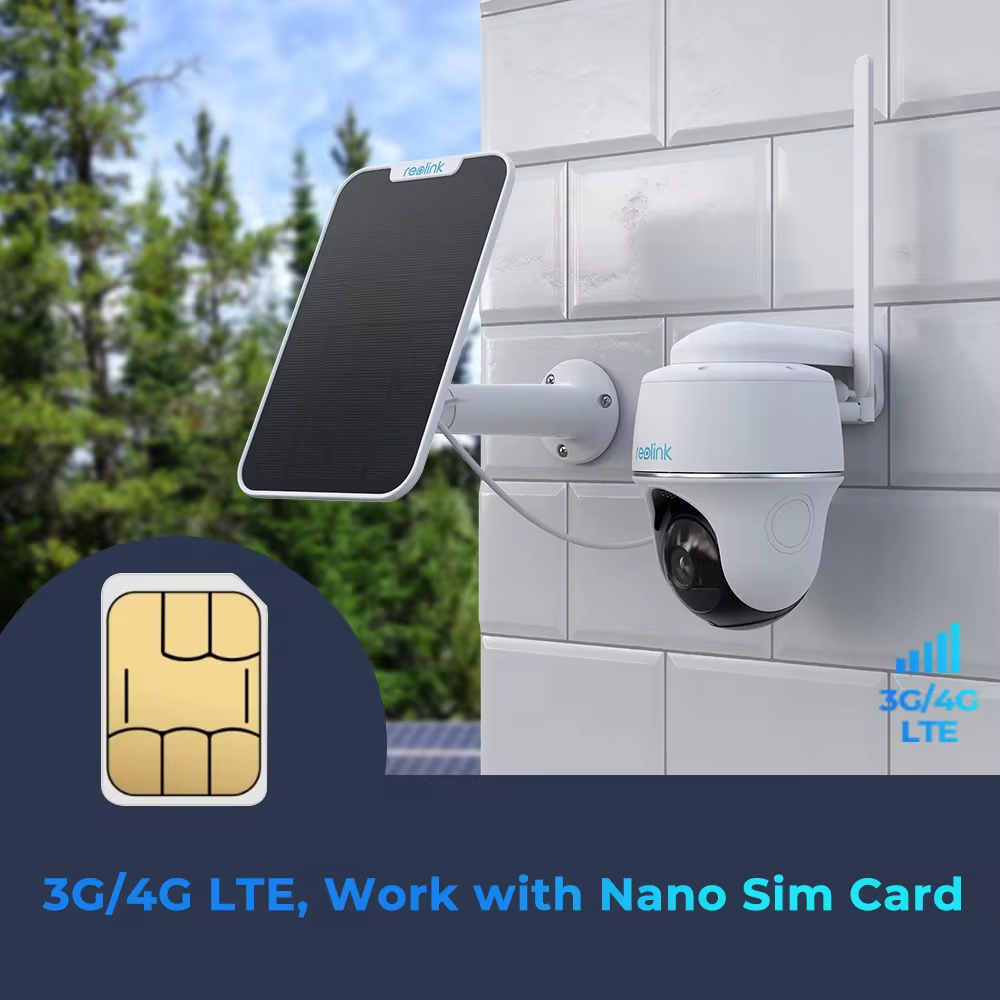
Unlike WiFi or wired CCTV security systems, a 4G security camera uses a 4G/5G mobile SIM card to send live video to your phone and show motion alerts without needing WiFi or cables.
Additionally, 4G solar cameras are powered by a battery that is charged by a solar panel, eliminating the need for a constant power supply, cabling and internet issue.
How to Set Up 4g Solar Camera for Live View
Step 1: Get a SIM Card
To configure a 4G solar security camera, the first step is to get a SIM card. This is crucial for the optimal performance of your camera. Choose a SIM card with the best network coverage in your area. Configure and subscribe to a mobile data plan for the SIM, then insert it into the camera’s SIM slot.
Step 2: Insert an SD Card
Get either a 128GB, 64GB, or 32GB SD card and insert it into the solar camera’s SD card slot. The size of the memory card determines the amount of backup data you will have – the larger the card, the more data you can store.
Step 3: Download the App
Download the app for our solar camera. Use this link to download the UBox app from the Play Store on your mobile device: ubox.
Step 4: Sign Up
Sign up for the app on your mobile phone using your Gmail account to get started with your solar camera
Step 5: Connect the Solar Panel to the camera
Connect the solar panel plug to the camera. This will immediately turn on the camera.
Step 6: Reset and Configure the Camera
Reset the camera by pressing the reset button. Then, follow these steps:
- Open the app. If you are signed out, sign in with the details you used for registration (email and password).
- Click on “Add Device.”
- Select “Setup 4G Device.”
- Check the box to agree to the terms and conditions.
- Click on “Next.”
- Scan the QR code on the camera.
- After scanning, the camera will be successfully added to your device.


Step 7: Install the Solar Panel
Ensure the solar panel is installed outside where there is sunlight. If the cable that comes with the panel is too short, extend it using a 0.5mm workshop flex. This is especially important when the solar camera is installed indoors, as the panel must be placed outdoors to receive sunlight
Check out our 4G solar security camera on Starnify.com

Top 5 Benefits of 4G Solar Panel Cameras
There are many reasons why you would prefer installing a solar panel camera, but here are our top 5 picks:
- No Need for Cabling: A client once wanted me to install wired cameras around his farm. After estimating the cost of running underground cables, supplying and maintaining electricity, the time required for installation, and the ongoing maintenance and management of the CCTV security system, it became clear that using solar panel cameras would be a better option. By choosing solar panel cameras, we eliminated the need for excessive cabling and significantly reduced costs and complexities.
- No WiFi Network Needed One of the major advantages of solar panel cameras is that they utilize a 4G SIM card for their network. This eliminates the need for a WiFi network and avoids challenges such as poor network coverage, power supply issues to the WiFi router, or someone accidentally turning off the WiFi.
- Motion Detection The 4G solar camera features a motion detection system with a built-in PIR (Passive Infrared) sensor. This sensor is highly sensitive to human and animal movement by detecting changes in infrared radiation levels, thereby minimizing false alarms.
- Remote Live View The 4G solar security camera also comes with remote live view capabilities, allowing you to check your business, facility, or job progress at your site or office from anywhere, at any time.
- Record to SD Card The 4G solar camera also features an inbuilt SD card slot, allowing you to insert an SD card of your choice, ranging from 32GB to 128GB. This enables you to have a recorded view of events, so if the need arises, you can remove the SD card and play the recorded footage.
Check out some of our Top solar camera picks from our other Stores
This Reolink 2k 4g lte is one of our top pick from our Aliexpress store


The Reolink 5Mp 3G/4G lte is our second pick from our aliexpress store